How to Roll Dough Like a Pro with My Favorite Tool: Wooden French Rolling Pin
Struggling to roll dough evenly? Discover how to roll like a pro with my Wooded French Rolling Pin! I’m sharing my step-by-step guide, a flaky pie crust recipe, and my favorite baking tools to make your kitchen adventures a breeze. Perfect for home bakers—check it out! 🥧 #BakingTips #KitchenTools
Ebun
4/18/20256 min read
Hey there, baking friends! I’m Ebun, the heart behind Ebun’s Kitchen, and if there’s one thing I’ve learned over years of baking pies, pastries, and cookies, it’s that the right tools can make all the difference. I used to struggle with rolling dough—my pie crusts were always uneven, and I’d end up with more dough on my counter than in the pan! But ever since I started using my Wood French Rolling Pin, I’ve been rolling dough like a pro, and I’m so excited to share my tips with you today. Plus, I’ll throw in a few other baking tools I can’t live without—all best-sellers for 2025—and a simple pie crust recipe to get you started. Let’s roll up our sleeves and get baking!
Why a Good Rolling Pin Matters
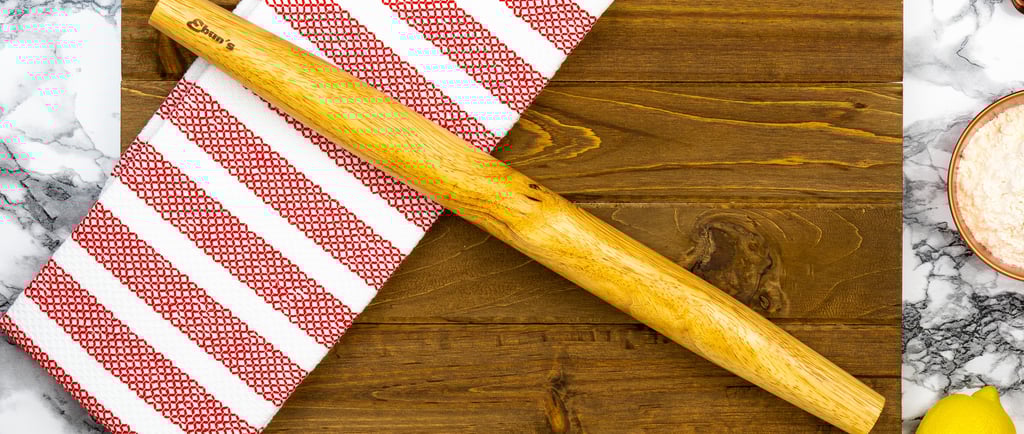
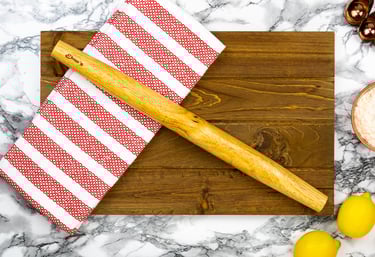
I’ll be honest—when I first started baking, I thought any old rolling pin would do. I used a clunky one with handles that made my arms ache, and my dough always ended up too thick on one side and too thin on the other. It wasn’t until I used a French Rolling Pin that I realized what I’d been missing. A good rolling pin should be lightweight, easy to handle, and give you total control over the dough. That’s exactly what my rolling pin does, and it’s become my go-to for every baking project. You can grab yours here —trust me, it’s a game-changer with fast Amazon Prime shipping and over 2,400 4.7-star reviews!
How to Roll Dough Perfectly Every Time
Here’s my step-by-step guide to rolling dough like a pro, using a French Rolling Pin. I’ve also included a few other tools that make the process even easier—all of which I’ve been loving lately.
Step 1: Prep Your Dough and Tools
Start with chilled dough—I usually pop mine in the fridge for 30 minutes to make it easier to work with. While it’s chilling, set up your workspace. I use the Etekcity Food Kitchen Scale to measure my ingredients precisely—baking is all about accuracy, and this scale weighs up to 11 pounds with a clear LCD display. It’s a best-seller for a reason! Dust your counter lightly with flour, and grab your rolling pin. A French rolling pin is lightweight and perfectly balanced, so it feels effortless in your hands.
Step 2: Roll with Confidence
Place your dough on the counter and give it a light dusting of flour to prevent sticking. Here’s where a French rolling pin shines—its French design (no handles!) lets you apply even pressure as you roll, ensuring a uniform thickness. Start from the center and roll outward, rotating the dough a quarter turn every few rolls to keep it round. I love how smooth and sturdy my rolling pin feels—it’s made from high-quality wood that glides over the dough without sticking. You can get yours on Amazon with over 2,400 4.7-star reviews and have it delivered fast with Prime—don’t miss out!
Step 3: Prevent Sticking with a Silicone Baking Mat
If your dough starts to stick, a silicone baking mat is a lifesaver. I’ve been using the Amazon Basics Silicone Baking Mats, a 2-pack that’s reusable and non-stick—perfect for rolling dough or baking cookies. They’ve got over 39,000 reviews on Amazon, and I can see why. I roll my dough right on the mat, and it never sticks, plus it makes cleanup a breeze. These mats are a must-have for any baker!
Step 4: Check Your Thickness and Trim
For pie crusts, I aim for about 1/8-inch thickness—you want it thin enough to be flaky but not so thin it tears. A French rolling pin makes it easy to get that perfect thickness every time. Once you’re happy with the size, trim the edges with a knife or pastry cutter. If you’re making a savory pie, you might need to chop some veggies for the filling—I use the Fullstar Vegetable Chopper to dice onions or zucchini in seconds. It’s a time-saver with over 4 stars on Amazon, and it’s been a game-changer for my baking prep.
Step 5: Transfer and Bake
Gently fold your dough in half, then lift it into your pie dish—I find this method prevents tearing. Unfold it, press it into the dish, and crimp the edges for a pretty finish. If you’re baking a big batch (like I do for family gatherings), the KitchenAid Stand Mixer is a lifesaver for mixing dough. It’s a top pick on Amazon’s 2025 list with a 5-quart capacity and 10 speeds—I used it to mix a double batch of pie dough in minutes. Pop your pie in the oven, and you’re done!
Bonus: My Go-To Pie Crust Recipe
Here’s the pie crust recipe I’ve been using with my rolling pin—it’s simple, flaky, and perfect for any pie:
Ingredients: 2 cups all-purpose flour, 1 tsp salt, 1 cup cold butter (cubed), 1/4 cup ice water.
Instructions: Mix flour and salt (I use my KitchenAid Stand Mixer on low). Add butter and mix until it looks like coarse crumbs. Slowly add ice water until the dough forms. Roll out with a French rolling pin on a silicone mat, then transfer to your pie dish. Bake at 375°F for 15 minutes (or as your recipe directs).
This recipe has been a hit at every gathering—I made an apple pie with it last week, and my family couldn’t stop raving about the crust!
Why I Love My French Rolling Pin
It’s lightweight, so my arms don’t get tired during long baking sessions, and the handle-free design gives me total control over the dough. I’ve used it for everything from pie crusts to puff pastry, and it never lets me down. Plus, it’s made from high-quality wood that’s both durable and beautiful—it looks great on my counter when I’m not using it! If you’re ready to take your baking to the next level, you can get yours on Amazon with over 2,400 4.7-star reviews—it’s selling fast, so don’t wait!
Wrap-Up: Let’s Get Baking!
Rolling dough doesn’t have to be a struggle—with the right tools, it’s actually pretty fun! My Wood French Rolling Pin has made all the difference in my baking, and I hope my tips help you roll like a pro too. Don’t forget to check out the other tools I mentioned—they’ve been game-changers in my kitchen, and they’re all best-sellers for 2025. Whether you’re grabbing my French rolling pin, the KitchenAid Stand Mixer, or those silicone mats, you’ll love the convenience of fast Amazon shipping. What’s your favorite thing to bake? Drop a comment below—I’d love to hear about your baking adventures!
Customer reviews
Discover what our clients think about our service
Well made one of the best rolling pins I’ve ever used!
So far I really like this rolling pin. I wanted a thinner one and I like the look of the French style. I was using a wine bottle to roll out my dough before and figured it’s time to be a grown up. Its easy to clean, it’s smooth. I haven’t felt any rough areas/splinters. I would recommend.
★★★★★
★★★★★
Great addition to my kitchen. I have a more traditional rolling pin but decided on this one for just a different feel and I really like this one. It’s life weight and easy to move around. So far I haven’t had any dough stick to it like it has to my other one I have. It’s easy to clean and store.
This was my first time using this type of rolling pin. I always used the conventional one. But I'm glad I did it was quite different minus the usual handles used in the past. But I really enjoyed the obvious difference between the conventional one, it was less stress for me in terms of pressure of rolling back and forth .👍❤️